 Zinn® Chat
Install Zinn® Chat on WordPress and switch it on
Install the plugin, follow the Setup checklist, add your AI key and turn the chat on.
The plugin does nothing on your site until you switch it on, so installing it is safe on any site.
Install the plugin
In wp-admin, open Plugins, Add New, search for Zinn® Chat, then Install and Activate. If Zinn Digital® hosts your site, it is already installed.
Open the Setup checklist
Open Zinn® Chat, Setup. The checklist shows what is done and what is left: the chat switched on, an AI key, the site read by the assistant, and a support page.
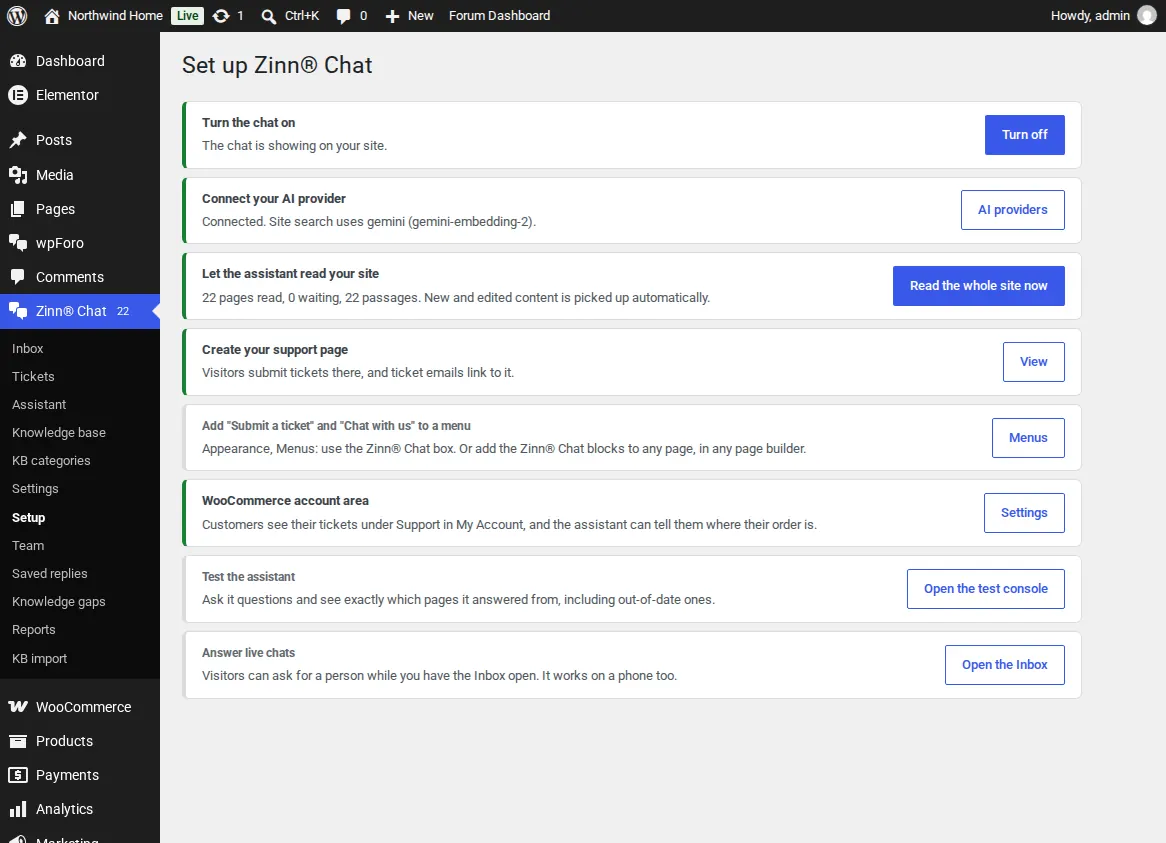
Add your AI key
Choose AI providers and models, and paste a key from Google Gemini, OpenAI, Anthropic, Mistral, OpenRouter or DeepSeek. The newest suitable model is picked for you, and you can choose another.
Switch the chat on
In Settings, Chat, tick Show the chat on the site, choose its title, greeting, colours and side, and save. The chat button appears on every page.
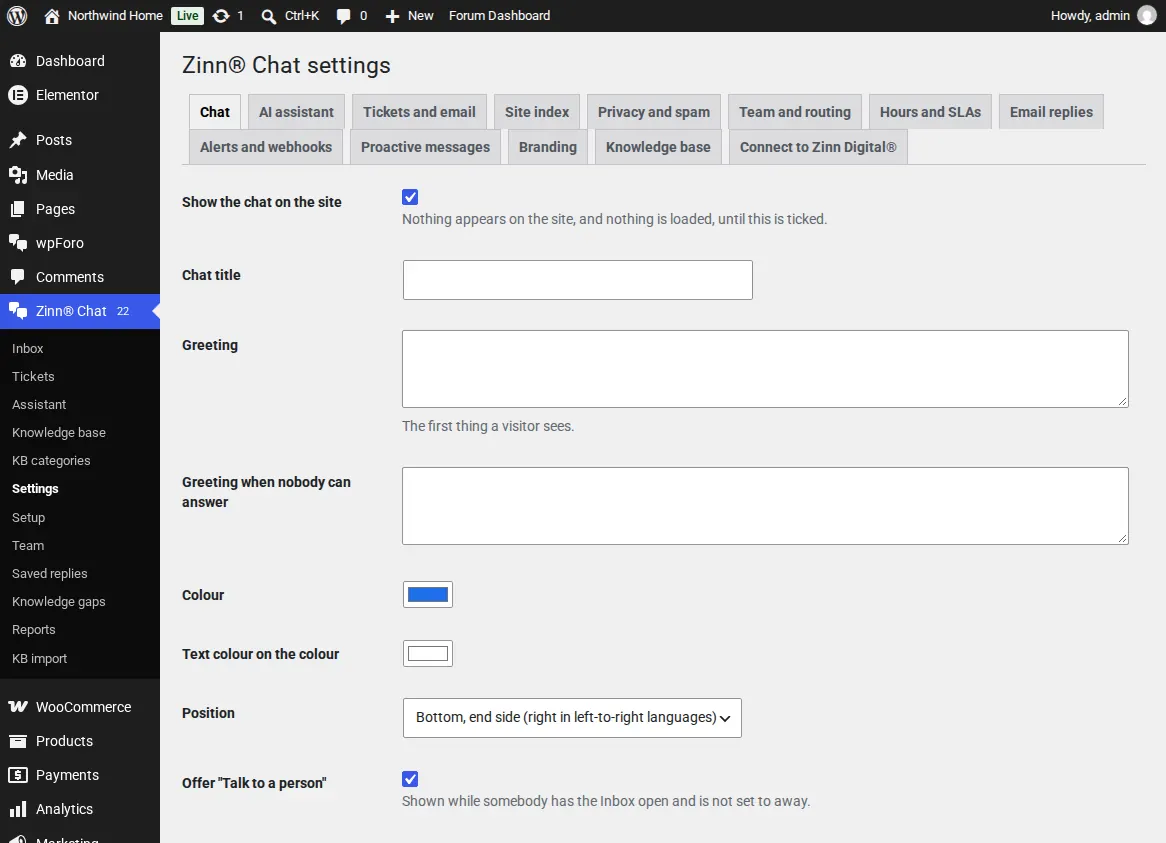
Nothing is loaded on your pages until a visitor clicks the chat button, so page speed is not affected.
Related guides
- Set up the AI assistant and teach it your site
- Answer live chats in WordPress
- Support tickets, the support page and ticket emails
- WooCommerce: the Support tab and order questions
- Chat and support elements for blocks and page builders
- Privacy, consent and spam protection
- Zinn® Chat shortcodes: every shortcode and attribute
Included with Zinn Digital® hosting
Already installed on every WordPress site we host
The free Zinn® Chat plugin comes installed and activated on every WordPress site we host on our own servers, so a chat is one switch away. Premium is an upgrade, per site, when you need more.